

How to check the thread engagement of a hex nut?
Jul 29, 2025
Leave a message
Hey there! As a hex nut supplier, I know how crucial it is to ensure the proper thread engagement of hex nuts. Thread engagement is like the backbone of a secure connection when you're using hex nuts in various applications. In this blog, I'll walk you through how to check the thread engagement of a hex nut, so you can make sure your projects are built to last.
Why Thread Engagement Matters
Before we dive into the checking process, let's quickly talk about why thread engagement is so important. When a hex nut is properly engaged with a bolt or a threaded rod, it distributes the load evenly across the threads. This helps prevent loosening due to vibrations, which is a common issue in many mechanical and structural applications. A good thread engagement also enhances the overall strength of the connection, reducing the risk of failure under stress.
Tools You'll Need
To check the thread engagement of a hex nut, you don't need a whole bunch of fancy tools. Here's what you'll need:
- A caliper: This will help you measure the length of the thread engagement accurately.
- A bolt or threaded rod that matches the size of the hex nut you're checking.
- A torque wrench (optional but recommended): This can be used to apply the correct amount of torque to the nut and ensure proper engagement.
Step-by-Step Guide to Checking Thread Engagement
Step 1: Select the Right Bolt or Threaded Rod
First things first, you need to make sure you're using a bolt or threaded rod that has the same thread pitch and diameter as the hex nut. If the sizes don't match, you won't get an accurate reading of the thread engagement. For example, if you're checking a DIN934 Hex Nut, find a bolt that meets the DIN934 specifications.
Step 2: Prepare the Nut and Bolt
Clean both the hex nut and the bolt or threaded rod to remove any dirt, debris, or rust. This will ensure a smooth and accurate fit. You can use a wire brush or a cleaning solvent to do this.
Step 3: Hand-Tighten the Nut
Start by hand-tightening the hex nut onto the bolt or threaded rod. Make sure you turn the nut in the correct direction (usually clockwise). Hand-tightening helps to seat the nut properly on the threads and gives you a good starting point for further checking.

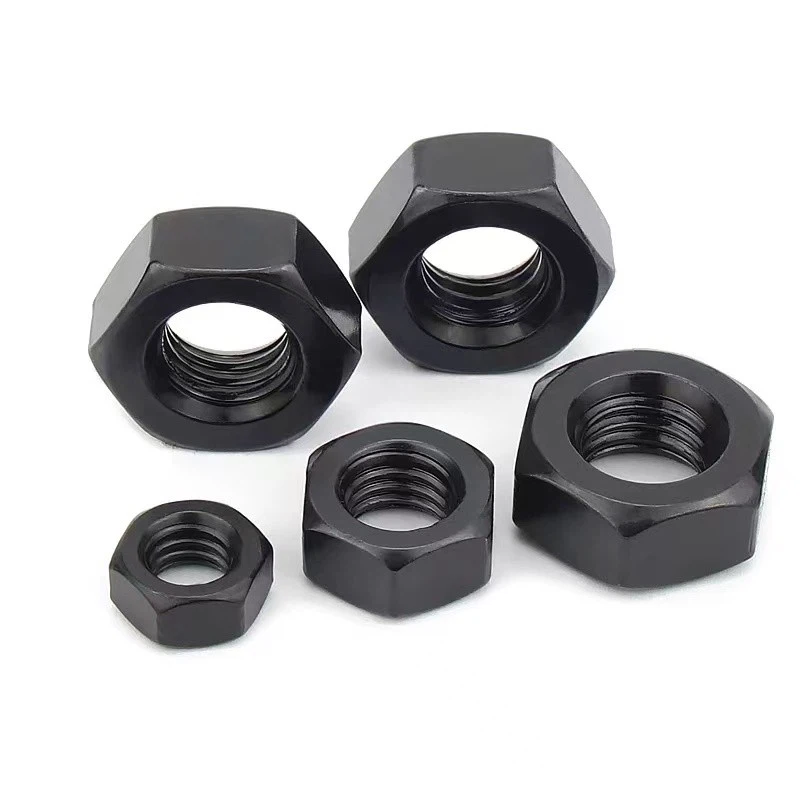
Step 4: Measure the Thread Engagement
Once the nut is hand-tightened, use the caliper to measure the length of the thread engagement. The thread engagement is the length of the bolt or threaded rod that is inside the nut. Place the caliper jaws at the top and bottom of the engaged threads and read the measurement on the caliper scale.
Step 5: Check the Minimum Engagement Requirements
Different applications have different minimum thread engagement requirements. As a general rule, for most standard applications, a minimum of 1.5 times the bolt diameter is recommended for full-strength thread engagement. For example, if you're using a 1/2-inch bolt, the minimum thread engagement should be at least 3/4 inch. However, in some high-stress applications, you may need even more thread engagement.
Step 6: Use a Torque Wrench (Optional)
If you have a torque wrench, you can use it to apply the correct amount of torque to the nut. This will help ensure that the nut is properly tightened and that the thread engagement is optimal. Refer to the manufacturer's specifications or industry standards for the recommended torque values for your specific hex nut and bolt combination.
Common Issues and How to Fix Them
Issue 1: Insufficient Thread Engagement
If you find that the thread engagement is less than the minimum requirement, there are a few things you can do. First, check if the nut or bolt is damaged or if there is any debris in the threads. Clean the threads if necessary. If the problem persists, you may need to use a longer bolt or a nut with a deeper thread. For example, if you're having trouble with a Heavy Hex Nut, you could try using a different size or type of nut that provides more thread engagement.
Issue 2: Over-Tightening
Over-tightening can also be a problem. It can damage the threads, cause the nut or bolt to break, or lead to other issues. If you suspect over-tightening, use a torque wrench to loosen the nut slightly and then re-tighten it to the correct torque value.
Special Considerations for Different Types of Hex Nuts
Galvanized Hex Nuts
Galvanized hex nuts, like the 1 2 Galvanized Hex Nut, have a zinc coating that provides corrosion resistance. When checking the thread engagement of galvanized nuts, be careful not to damage the coating. You may need to adjust the torque values slightly to account for the friction caused by the coating.
Locking Nuts
Locking nuts, such as nylon-insert lock nuts or prevailing torque lock nuts, are designed to prevent loosening. When checking the thread engagement of locking nuts, make sure the locking mechanism is functioning properly. You may need to apply a little more torque to seat the nut properly.
Conclusion
Checking the thread engagement of a hex nut is a simple but important process that can help ensure the safety and reliability of your projects. By following the steps outlined in this blog, you can easily check the thread engagement and address any issues that may arise. Remember, using high-quality hex nuts and following the manufacturer's specifications are key to a successful connection.
If you're in the market for hex nuts or have any questions about thread engagement, don't hesitate to reach out. We're here to help you find the right hex nuts for your needs and ensure that your projects are a success.
References
- Machinery's Handbook, 31st Edition
- ASTM Standards for Fasteners